Reusable, machine washable doggie diapers? Whaaaaat has the world gone mad?
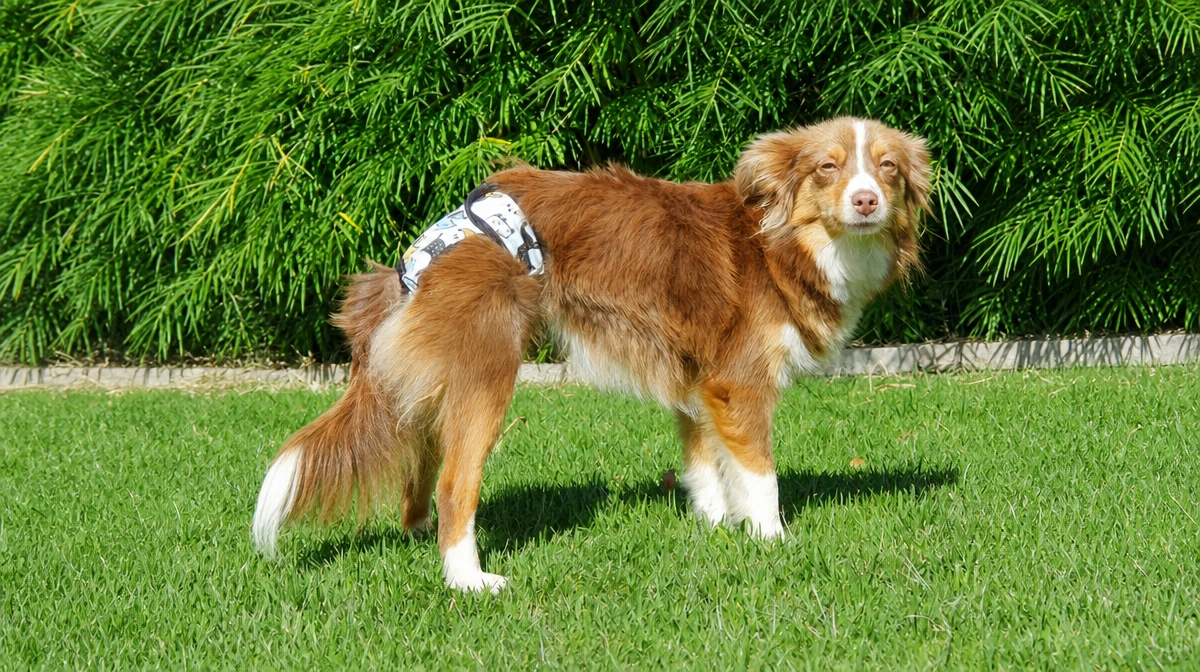
Actually, doggie diapers are actually a big thing and we’re so excited to be a part of helping out our doggo friends. Be it a young dog that is having little accidents whilst potty training, an old doggo who is experiencing incontinence issues or dog breeders dealing with menstruation, they all have a use for doggie diapers.
What are doggie diapers for?
Let me be absolutely clear here. Doggie diapers are not for containing poo. Definitely not! They are only for dogs with incontinence issues or dogs on their menstrual cycle.
Doggie diapers are soft, comfortable, breathable and environmentally friendly. By switching to washable doggie diapers you will save money and you will no longer need to purchase disposables which will end up in a landfill after a single use.
How do doggie diapers work?
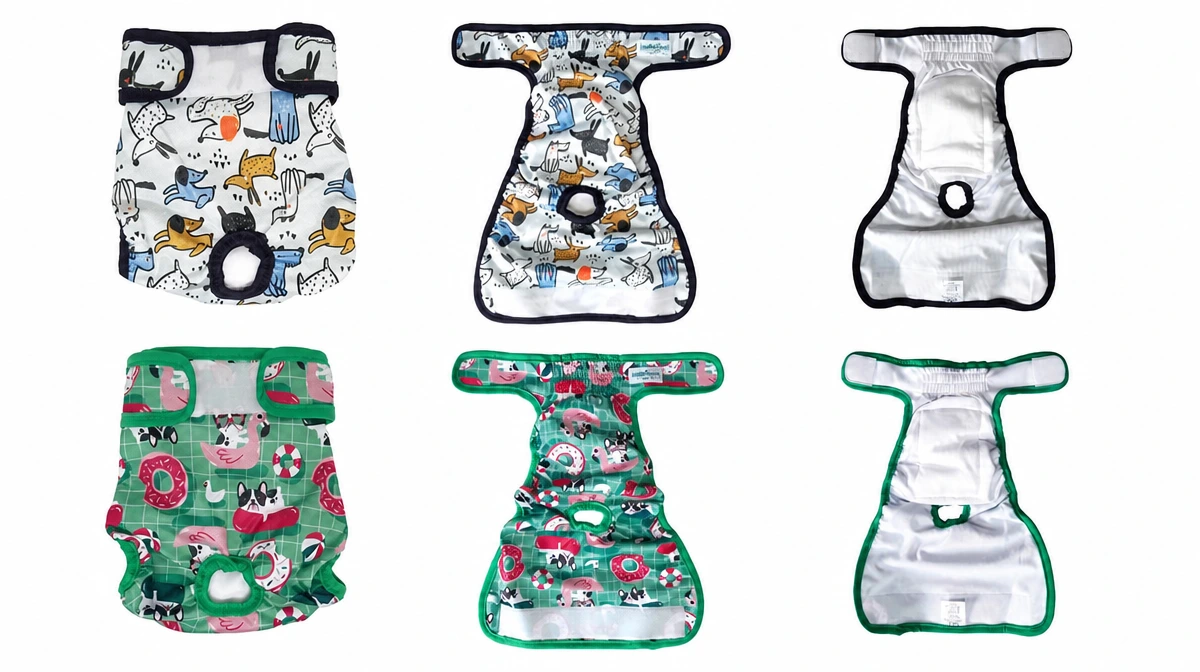
The cover is made from soft, stretchy TPU fabric that is waterproof. The diaper is closed over the back of the dog with a soft velcro band. The inner layer is a soft, breathable mesh fabric. Inside the diaper you will find 3 layers of absorbing microfibre. Of course, we have not forgotten about the very important tail hole.
How often should you change a doggie diaper?
Change diapers at least every 3-4 hours. It’s best if you replace a diaper as soon as it is soiled. Allowing urine or faeces to sit against your dog’s skin can lead to infections and make it uncomfortable for your pet.
When purchasing our doggie diapers, please make sure you measure your pooch properly and choose the size according to the diagram and relevant table.
The information below should in no way replace the treatment of a medical professional. If your baby is showing signs of a painful skin irritation, the redness is spreading, or there is infection accompanied by a fever — seek medical attention or consult your doctor immediately.
The incidence of bum rash is greatly reduced by the breathability of cloth nappies — but there are some instances where you may have to deal with redness. Nappy rash is defined as a patchwork of inflamed, bright red skin on the buttocks.
Common causes of nappy rash with cloth nappies
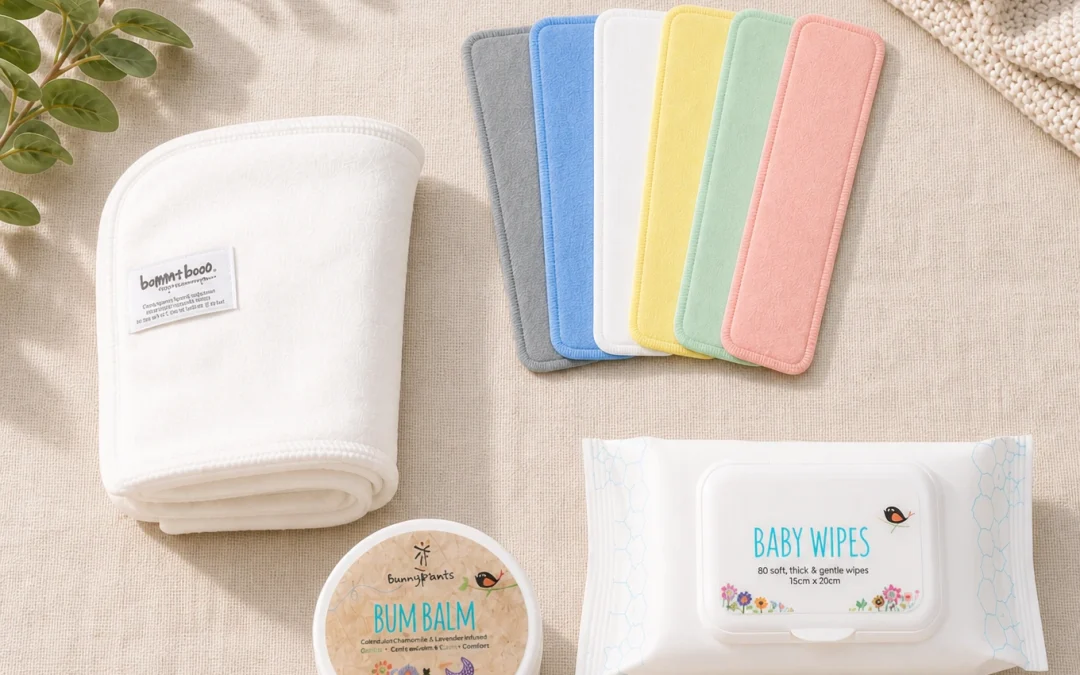
Sensitivity to wet: some babies are very sensitive to the dampness of cloth nappies. We recommend swapping your Biodegradable Liners for Fleece Liners. These create a soft, dry layer between baby and the wet insert.
Crease marks: to get a snug fit it can seem like the nappy is too tight as it leaves red marks. These are the same marks you might experience with your own clothes. Monitor baby for signs of discomfort and loosen the nappy if necessary.
Chafing: this can be the result of wet fabric rubbing against baby’s skin. Make sure you are changing damp nappies timeously. Avoid reusing nappy outers and changing inserts only.
Bum rash: if you notice redness, check that you are changing baby at the correct intervals.
Acidic wee: when baby starts teething their urine can become very acidic. Apply a cloth-safe bum balm and change baby often. If you are using a traditional or medicated cream, use fleece liners to protect your inserts.
How long does nappy rash last?
With correct action, a bum rash should clear up within a couple of days. If it is not improving — or you notice it spreading, developing blisters, accompanied by a fever, or baby is continuously upset — please consult your GP.
Tips to prevent nappy rash flare-ups
Change nappies frequently
Ensure baby’s skin is thoroughly cleaned between changes
Switch to disposables temporarily to allow healing time
Make sure your wash routine is providing a thorough wash and rinse
Reduce highly acidic foods during flare-ups
Use prescribed medications as instructed by your doctor
What about thrush?
Thrush is a fungal infection that can look similar to nappy rash but needs different treatment. If your baby has been diagnosed with thrush, we recommend the following steps:
Apply the medicated cream as prescribed by your GP.
Switch to disposables until the thrush has cleared — this simplifies your wash routine and reduces the risk of re-infection through nappies.
If you want to stay on cloth:
Maintain a stringent cleaning routine to prevent a cycle of re-infection.
Use Fleece Liners to protect your nappies from the medicated cream.
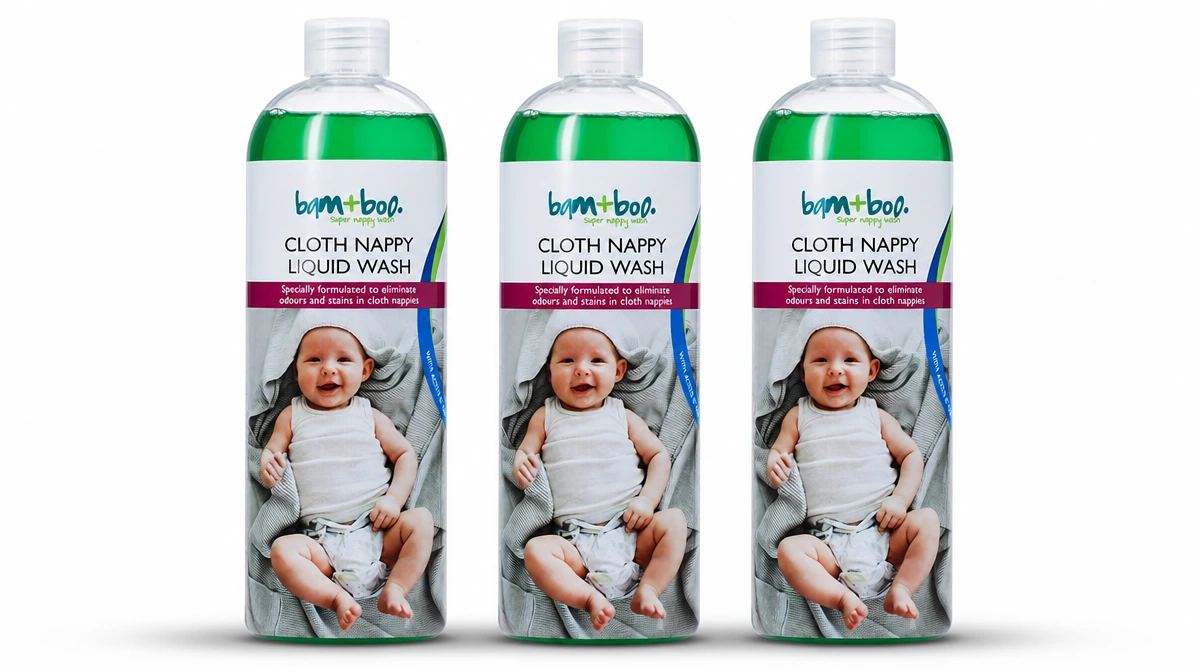
Wash all possibly infected nappies, wipes, and liners with Super Nappy Wash — it kills 99.9% of bacteria, fungi, and thrush spores.
You’ve got this
Nappy rash is one of those things that sounds scarier than it usually is. Most cases clear up quickly with a few simple changes — a liner swap, a bum balm, and a bit of nappy-free time on a sunny afternoon. Cloth nappies are breathable and gentle on baby’s skin by design, and the vast majority of cloth nappy parents find their babies experience far less rash than they did in disposables.
If you’re ever unsure, your GP is always the right call. And if you have questions about which liners or products work best for your baby’s skin, we’re happy to help.
Getting the fit right is the single most important thing you can do to prevent leaks with cloth nappies. A well-fitted nappy keeps everything where it should be — and once you’ve done it a few times, it becomes second nature. Here’s exactly how to do it.
Step-by-step: how to fit a cloth nappy
Open the nappy and lay it out on your changing table. Position baby on the nappy with the back elastic just above the bum crack.
Pinch the middle of the nappy as you pull it between the legs to make sure the elastics are snug against the panty line.
Pull the nappy up and over baby’s tummy.
Hold the front tab snug against baby’s hip, above the thigh.
Pull the wing from the back of the nappy over to the front and secure the tabs.
Repeat on the other side.
There should be enough of a gap for 2 fingers between baby and the nappy.
Check that the leg elastic is still sitting in the panty line.
The front of the nappy will sit quite high on baby’s tummy — close to but under the navel.
If necessary, adjust the rise snaps and tack the extra fabric upwards between the snaps.
If there is still a gap in the leg area, gently tug the front tabs until the gap closes. This is the Bunny Ear Hack — the tabs stick out at the waist.
Check that the back of the nappy is just above the bum crack.
A correctly fitted cloth nappy should feel snug but never tight. Run through this quick checklist after every change until it becomes habit:
Two-finger gap at the waist — if you can’t fit two fingers between the nappy and baby’s tummy, it’s too tight
Leg elastics in the panty line — not digging in, not gaping out
Back elastic just above the bum crack — not sitting too low
No red marks after removal — some light marks are normal (same as sock marks), but deep red lines mean the fit needs adjusting
No gaps at the legs — if you see a gap, try the Bunny Ear Hack (step 11 above)
What if it’s still leaking?
Most cloth nappy leaks come down to fit, not absorbency. If you’re getting leaks, work through this before assuming the nappy needs boosting:
Check the leg elastics are in the panty line — this is the most common culprit
Check the rise snaps — if the nappy is too long in the body, the leg elastics can’t sit correctly
Check the nappy is absorbent enough for your baby’s output — some babies are heavy wetters and need a booster insert
Check your wash routine — build-up on inserts reduces absorbency over time
Still struggling? Get in touch with us — we’ve been fitting cloth nappies for 17+ years and we’re happy to help troubleshoot.
It gets easier
The first few times you fit a cloth nappy it might feel fiddly. That’s completely normal. By the end of the first week most parents can fit a cloth nappy faster than a disposable — and without the guilt of another one going to landfill. Stick with it. You’ve got this.
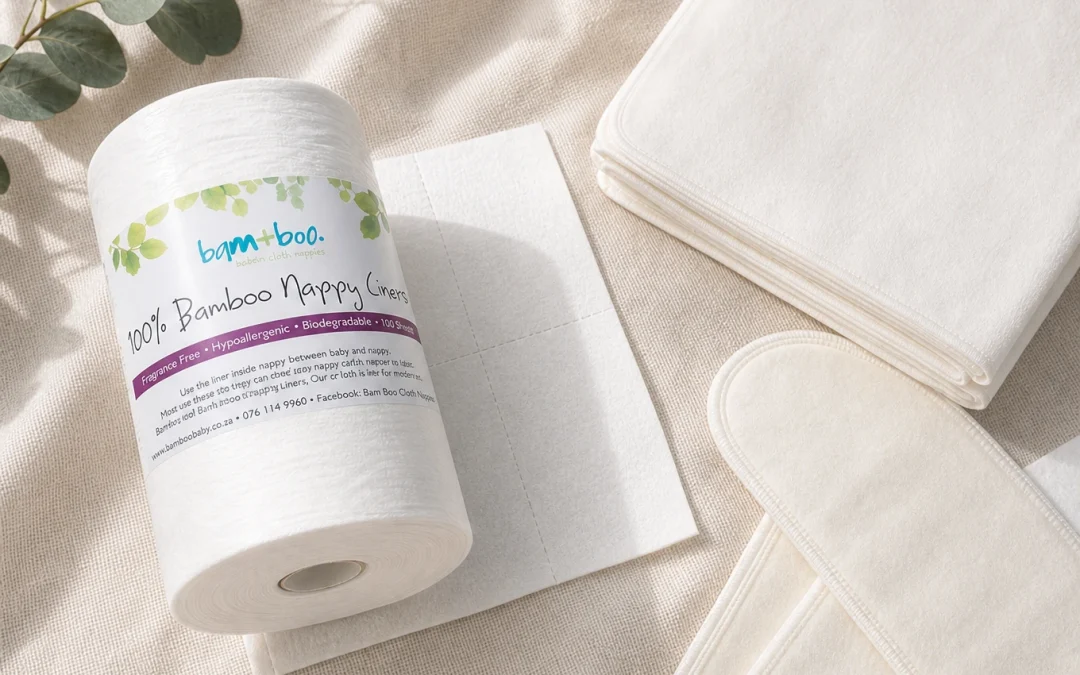
Make waste disposal a lot easier while reducing staining
They also make pretty handy wipes on the compactum and in the nappy bag.
There are two types of liners available.
Disposable liners
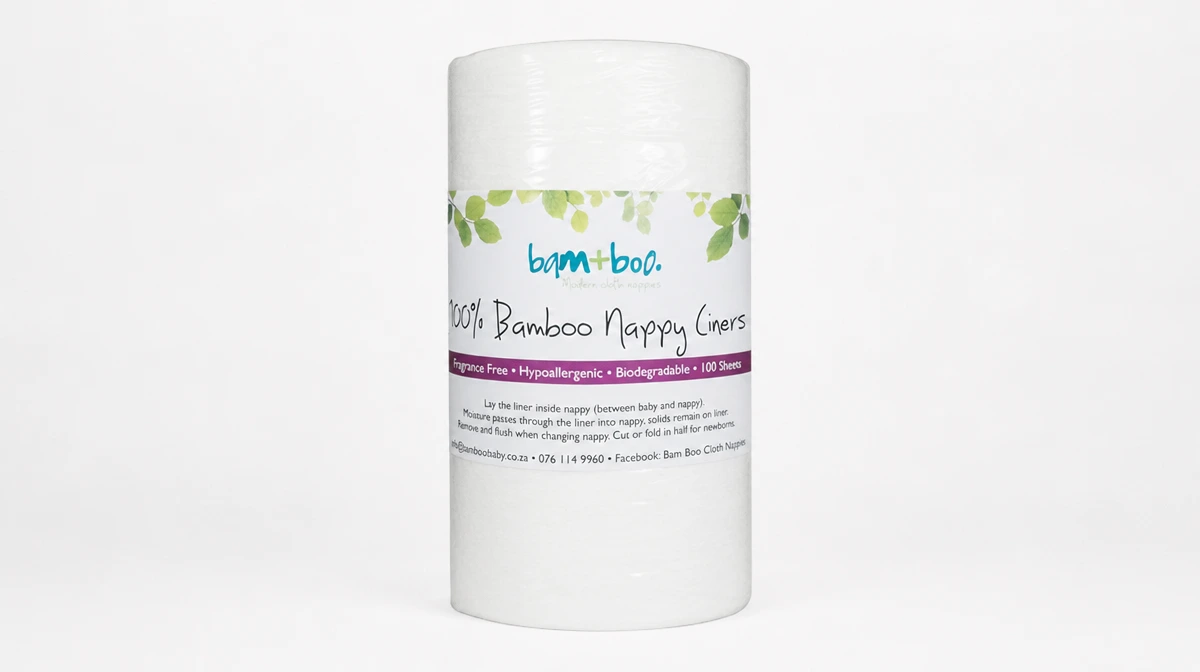
These are available in a roll containing 100 perforated sheets of bamboo viscose. They are easy to use and handy to have. Our disposable liners are biodegradable and compostable. Wet-only liners can be added to a compost heap and your paper recycling.
With regards to flushing, we advise caution. Liners are not the same as toilet paper, they break down slower and can cause issues with your sewerage system. It is vitally important that you know your toilet before you choose to flush liners. A great compromise is to install a bidet sprayer, these will help remove any solid, sometimes very sticky, mess directly into your toilet.
Fleece liners
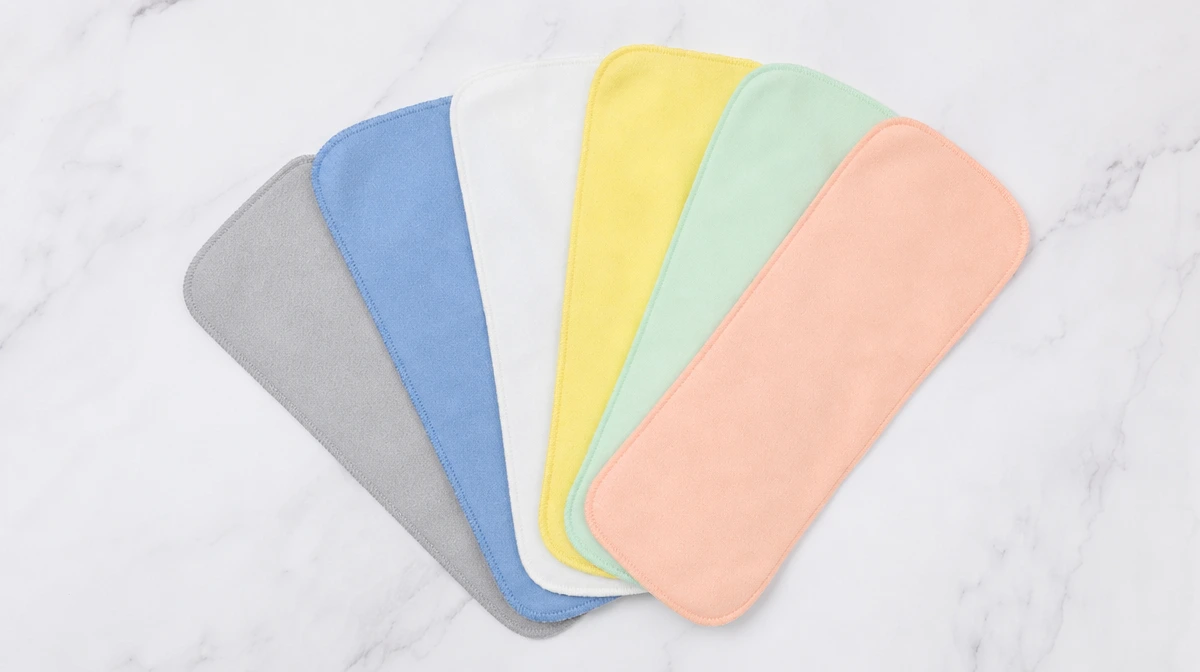
Our fleece liners are made out of micro fleece. This quality polyester synthetic fabric is the perfect stay-dry fabric for a nappy liner. As it is a non-absorbent fabric these liners are super-fast drying and easy to clean. Even the messiest changes can be cleaned with the power of a toilet flush and a firm grip on the end of the liner. If a baby is particularly sensitive to wetness then these are a great option. Fleece liners are also a great way to save money and be a little bit more environmentally aware.
A fleece liner story worth sharing
We thought that the below tale was the perfect way to educate you about the wonders of fleece liners:
“Let me tell you a bit about the event which converted me to fleece liners, having always been pretty sceptical when others raved about them: I flew to Orkney with my first son, and he did not do his usual morning poo before we left (normally as regular as clockwork), so we had it hanging over us like the Sword of Damocles all morning. At Gatwick, I changed him again, in case he had sneakily done it en route — no poo. By the time we got to Aberdeen, he finally decided to perform, at which point I realised I had used my only spare nappy and the rest were on the plane.
The nappy itself had plenty more capacity for wee — the only problem was the dirty liner. However, luckily I had put on a fleece liner rather than a flushable one. I say ‘luckily’ because fleece was large enough to cover the whole nappy so none had got onto the nappy itself, as he was weaned it caught all the solids and I was able to sluice it in the toilet to remove the poo, then I could wash it in the sink and then quickly dried it in the hand dryer. The fleece liner went back into the nappy and we were on our way again. I would normally change the whole nappy after a poo but in this case we reused the nappy and were good to go.”
Both liner types do their job well — it really comes down to what suits your routine:
Choose disposable liners if you want a grab-and-go option that’s biodegradable and simple to dispose of, and you’re comfortable with careful, cautious flushing (or composting) as part of your routine.
Choose fleece liners if you want a reusable, cost-saving option that’s brilliant for sensitive skin, dries fast, and handles even the messiest changes with a quick rinse.
Many cloth nappy parents end up using both — disposable liners for convenience and travel, fleece liners for everyday use at home. There’s no wrong answer here, just what works for your family.
Once you start your cloth nappy journey you will hear about STRIPPING! Before we discuss more about this process it is important to understand that with an effective, successful wash routine, stripping should not be necessary.
A word of caution about stripping methods
There are many suggested stripping methods available online, and we caution you to consider that most of them will include steps that will void your warranty and shorten the lifecycle of your cloth nappies.
We strongly advise against the use of bleach with our nappies, as per our manufacturer’s advice. Strong, abrasive chemicals can severely damage the natural fibres of your cloth nappies. It is also very important to understand how bleaches work and to ensure they are properly neutralised — otherwise they can cause skin irritation and damage.
Signs your nappies might need stripping
Over time you could experience build-up in your cloth nappies or have infection concerns. You will notice that your nappies are leaking, there could be an increase in baby’s nappy rashes or thrush, and/or strong odours when the nappy is wet. It may then become necessary to “strip” your nappies.
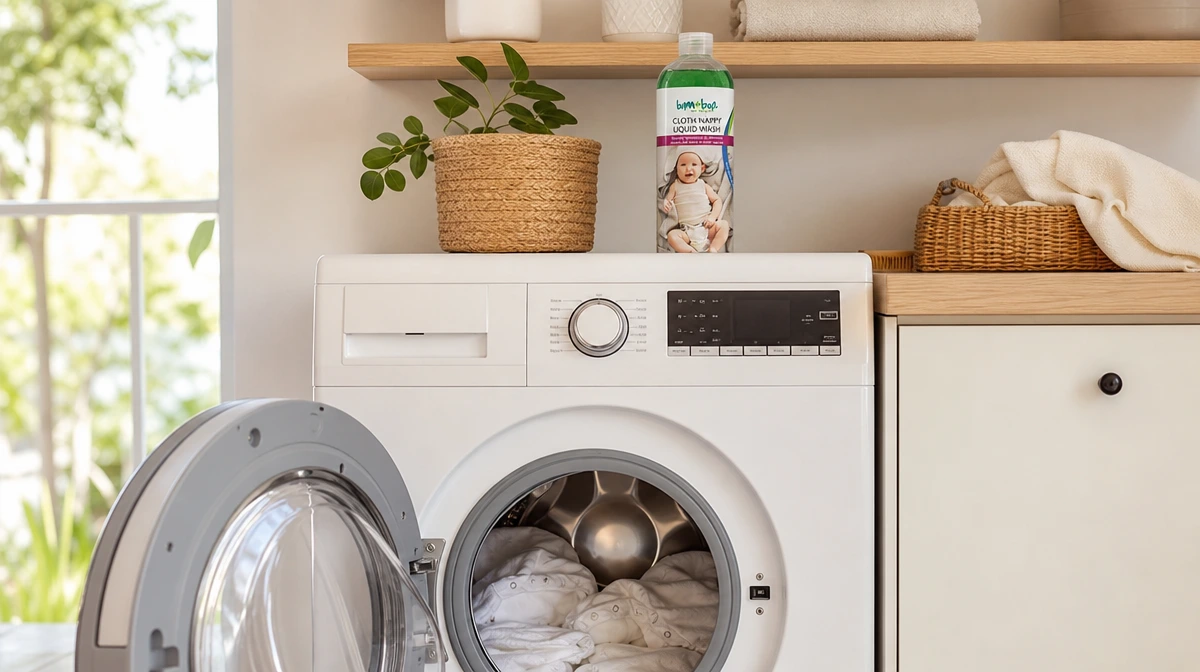
Before you experiment with the various bleach stripping methods, we encourage you to try Super Nappy Wash and/or detergent-free rinse cycles.
How to strip your nappies safely
Try several warm washes without detergent. You can increase the temperature up to 60°C for the occasional strip, but not every wash. After the second cycle, add a dose of Super Nappy Wash to refresh your nappies. The key to avoiding residue build-up is to RINSE, RINSE, RINSE! (Unless you have hard water.)
Dealing with spores or bacteria
If you’re concerned about spores or bacteria — this could be because the nappies are pre-loved or baby has had a thrush infection — replace your regular detergent with Super Nappy Wash. This will kill 99.9% of spores and bacteria while giving a thorough clean and removing any strong odours.
The bottom line
Stripping should be the exception, not the routine. If you’re using a cloth-safe detergent like Super Nappy Wash and rinsing thoroughly every wash, most of the issues that lead to stripping simply won’t come up. Think of it as a reset button — useful occasionally, not something your nappies need every month.
Still noticing leaks, odours, or rashes after trying the steps above? Get in touch with us — we’re happy to help you troubleshoot your wash routine.